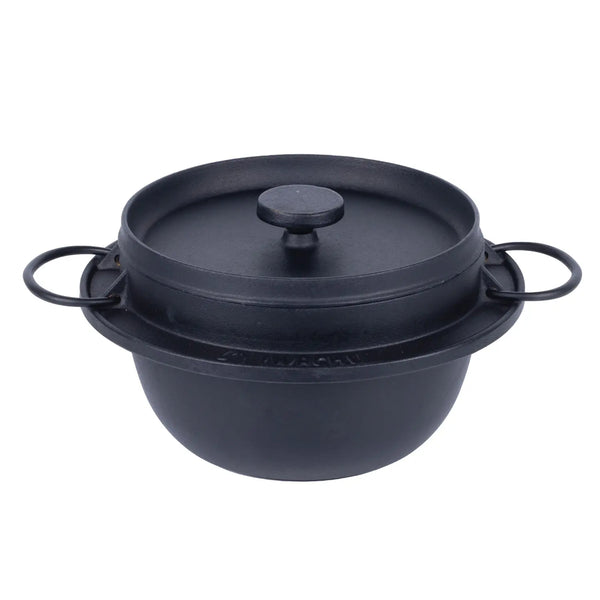
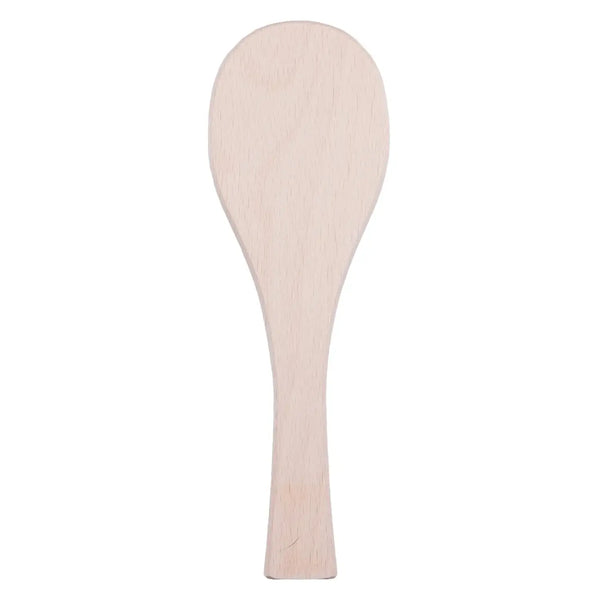
The products we used:
Why get a cast iron rice cooker?

Modern rice cookers are great pieces of kitchen equipment. You add rice and water, close the lid, press a button, and then you wait for it to sing a little song to you while you start preparing the rest of your meal. A device that can make any part of your meal preparation so effortless is an irreplaceable treasure.
What's even better about modern rice cookers is that they can make more than just rice. I've made stews and even cake in my rice cooker. You can think of them as somewhat like a slow cooker. They are not only easy to use, but surprisingly versatile.
So when I first saw Iwachu's cast iron rice cooker, I wondered why someone would use cast iron rather than a simple, modern rice cooker. It requires more work, after all. Why would someone buy a rice cooker that makes you work harder?
The answer is that cast iron rice cookers aren't a replacement for modern electric rice cookers. Both can make rice, but the similarities end there. The most obvious difference is that cast iron rice cookers can be used without electricity. You can make rice while you're out camping, for example. Obviously, you probably aren't going to go hiking with a rice cooker in your backpack, but if you are driving your car directly to a campsite, then packing a cast iron rice cooker seems reasonable.
Electric rice cookers are versatile tools, but cast iron rice cookers have a few tricks up their sleeves, too. Unlike an electric rice cooker, cast iron cookers can be placed in an oven. That opens up the possibility of not only cooking, but also baking with the Iwachu. I recently had some amazing artisan bread that my mom baked using a Dutch oven. I haven't tried it, but I imagine that my mom could have just as easily used the rice cooker by Iwachu to bake that bread.
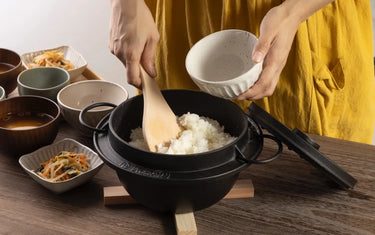
That means that you can think of the Iwachu cast iron rice cooker as a Dutch oven with extra features useful for making delicious rice. The extra feature is a lid designed to hold and diffuse moisture evenly across the rice.
So while a cast iron rice cooker has the disadvantage of being heavier and requiring some more work to use, the tradeoff if that you can use the rice cooker without electricity, and you can make different kinds of food, like crunchy artisan bread, with it.
Making Rice with the Iwachu

Like I said, making rice with a cast iron rice cooker requires more work. But how much more work, exactly?
Let's say you are making some rice using the "3-go" sized rice cooker. The 3-go sized rice cooker can make enough rice for about three people. Before you get cooking with the Iwachu, there are a few things to keep in mind.
- Measurements are very import for making the perfect rice.
- One "go" is approximately 180ml of rice.
- To make the perfect rice with the Iwachu, the rice-to-water ratio should be 1-to-1.2.
In short, for every 1-go / 180ml of rice, you need about 220ml of water.
With that in mind, here is how you can make rice using the Iwachu rice cooker:
Recipe
Ingredients:
- Rice, 540ml / 1.9 cups
- Water, 648ml / 2.3 cups
Rinse the Rice:

Rinse the rice thoroughly under cold water. Rinsing helps remove excess starch and prevents the rice from becoming too sticky.
Prepare the Pot:

Place your cast iron pot on the stove. The Iwachu works with both gas and IH stoves. However please carefully note that 2-Go size is NOT compatible with induction heating.
Add Water:

Add the rinsed rice to the pot and then add the appropriate amount of water or broth. The general ratio is 1 part rice to 2 parts water (1:2). You can also add a pinch of salt if desired.
Wait:

Let the rice soak in the water for 30 minutes (in summer heat) to 1 hour (in the winter cold). Doing so will allow the rice to absorb water and ensure even cooking.
Stir:

Before turning on the stove, gentle stir, bringing the rice at the bottom up to the top. That will further ensure even cooking.
Bring to a Boil:

Turn up the heat to high and bring the mixture to a boil.
Reduce Heat and Simmer:

Once it's boiling, you can reduce the heat to low and continue cooking for about 15 minutes.
Burn Off Excess Moisture:

After 15 minutes of simmering, set heat to high for another 2 minutes. This is meant to burn off any excess moisture in the pot.
Let Steam:

Remove the pot from heat and let it sit with the lid on for another 10-15 minutes. During that time, the rice will continue to steam thanks to the heat held in by the cast iron.
After that, your rice is ready to eat.
Tips

During the boiling and simmering steps, the rice cooker may begin to overflow. The rice cooker has a generous lip designed to catch the little bit of water that's expected to come out. However, when we made rice with the Iwachu, we cooked it on our IH stove and made a bit of a mess. IH stoves tend to heat differently from gas. If you make rice with the Iwachu using an IH stove, we suggest watching it closely and adjusting the heat if you see a volcanic eruption in-the-making.
If you burn any rice to the bottom of the pot: Take out all of the rice that is easy to remove, add water, bring to a boil, and then use a soft sponge or scraper to pick up the burnt rice stuck to the pot.


